This section is intended for ADM administrators.
With the Configuration Editor, openFT provides a graphical interface which you can use to create or edit configuration files. The configuration file is an input file in XML format in which the ADM administrator defines the following:
the remote administrators
the openFT instances and groups of instances to be administered by these remote administrators
the remote administration rights that the remote administrators have on each of the openFT instances (access list)
You must then import this file, see section “Importing the configuration”.
The representation of the configuration corresponds to the display you will subsequently see under Remote Administration in the openFT Explorer, see the example under section “Creating a configuration file using the Configuration Editor”.
Creating a new configuration file
The most important steps are described below. See the online help for detailed information on the dialog boxes and the individual parameters.
Start the openFT Explorer.
Start the Configuration Editor by opening the Extras menu and choosing the Start Configuration Editor command.
You then see the Configuration Editor start window.
Open the File menu and choose the New Configuration command.
The Configuration node is displayed in the navigation area. Here you define the individual objects in the configuration using the commands in the context menu.
Administrators
For the first administrator, choose the New Administrator command in the context menu of the Configuration node. Define the properties in the Administrator dialog box.
Repeat this step for each administrator that you want to define.
Groups
Select the New Group command in the context menu of the Configuration node and define the corresponding properties in the Group dialog box.
Repeat this step for all the other groups that you want to define.
For each group, you can also create subgroups by selecting the New Group command from the context menu of a group.
Instances
Select the New Instance command from the context menu. You can select this command in the Configuration node (creates an instance at the topmost level) or in a node corresponding to a group (creates an instance within a group). You define the attributes of the instance in the Instance dialog box.
Repeat this step for all the other instances that you want to define.
Access lists
You can create access lists for the entire configuration (global access list), for groups or for individual instances:
Select the Create Access List context menu command. You can choose this command in the Configuration node (global access list, in the node corresponding to a group (applies to all the instances in a group, including the instances in the subgroups) or of an instance.
When you do this, only the Access List item is initially created. Now choose the New Access Entry context menu command under Access List and define the corresponding access rights in the Access Entry dialog box.
You can use the Properties command in an access list's context menu to open the Access List dialog box. Here you can specify whether access permissions are to be inherited from parent access lists. This dialog box also displays any access permissions that may have been inherited.
Finally, save the entire configuration using the
Save as command in the File menu. At save time, openFT checks the validity of the configuration file. If any errors are detected, you will see a corresponding message together with a query asking you whether you want to save the file anyway.
Modifying the configuration file
You can use the Configuration Editor to modify an existing configuration irrespective of how this was created.
Start the Configuration Editor in the same way as if you were creating a new configuration file.
Open the File menu and choose Open.
In the Open Configuration File dialog box that is now opened, select the file containing the configuration that you want to modify.
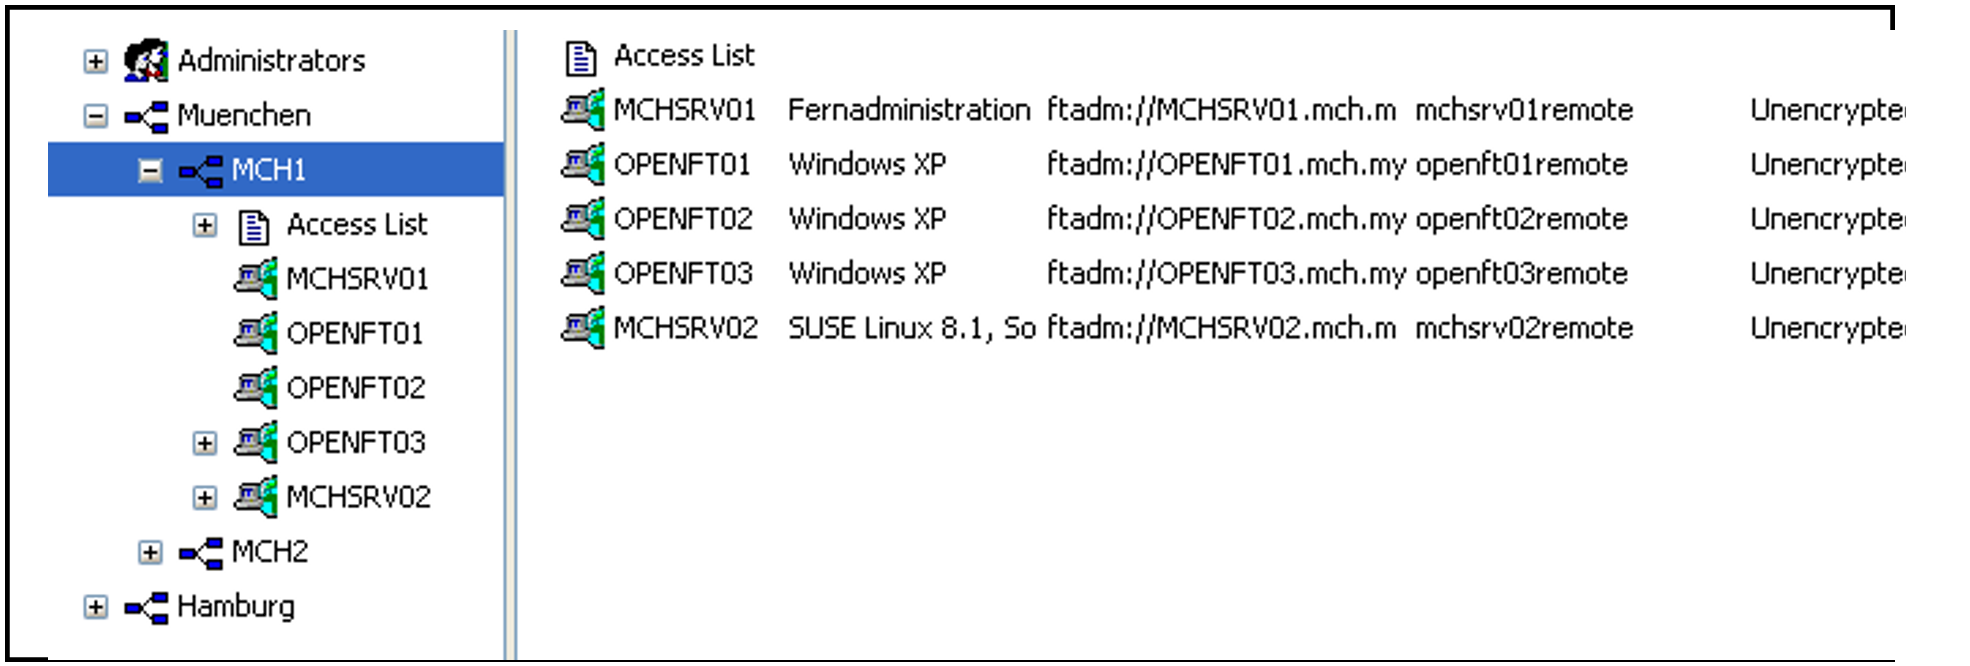
The configuration is displayed in the navigation area in the form of a tree structure. By expanding the individual nodes, you can navigate to each of the objects, see example below:
You can use the context menu commands to add new objects (in the same way as when creating a new configuration file). In addition, you can
Modify an object's attributes:
Choose the Properties command in the object's context menu. The properties can be modified in the dialog box that is now opened for the object.Move objects:
Choose the Copy or Cut command from an object's context menu, navigate to the required position and choose the Paste command from the context menu. Alternatively, you can also use the mouse to move objects in the navigation area (corresponds to Cut + Paste).Delete objects:
Choose the Delete command from the object's context menu (alternatively: Del key). You must always explicitly confirm the delete operation
Finally, save the modified configuration by opening the File menu and choosing Save (overwrites the old configuration file) or Save as.