If the EIS partner uses user IDs for inbound communication then you must define these in the proxy as otherwise the job will be rejected. if the user ID needs a password then you must also define this.
If you want to use the JCA 1.6 security inflow functionality then the EIS partner must use user IDs for inbound communication.
Otherwise, this operation is optional.
You access the user entries via the Users node which is located below the Inbound node in the proxy subtree.
To display the list of users, click the Users node. Alternatively, open the context menu for the Users node and choose Show Inbound Users.
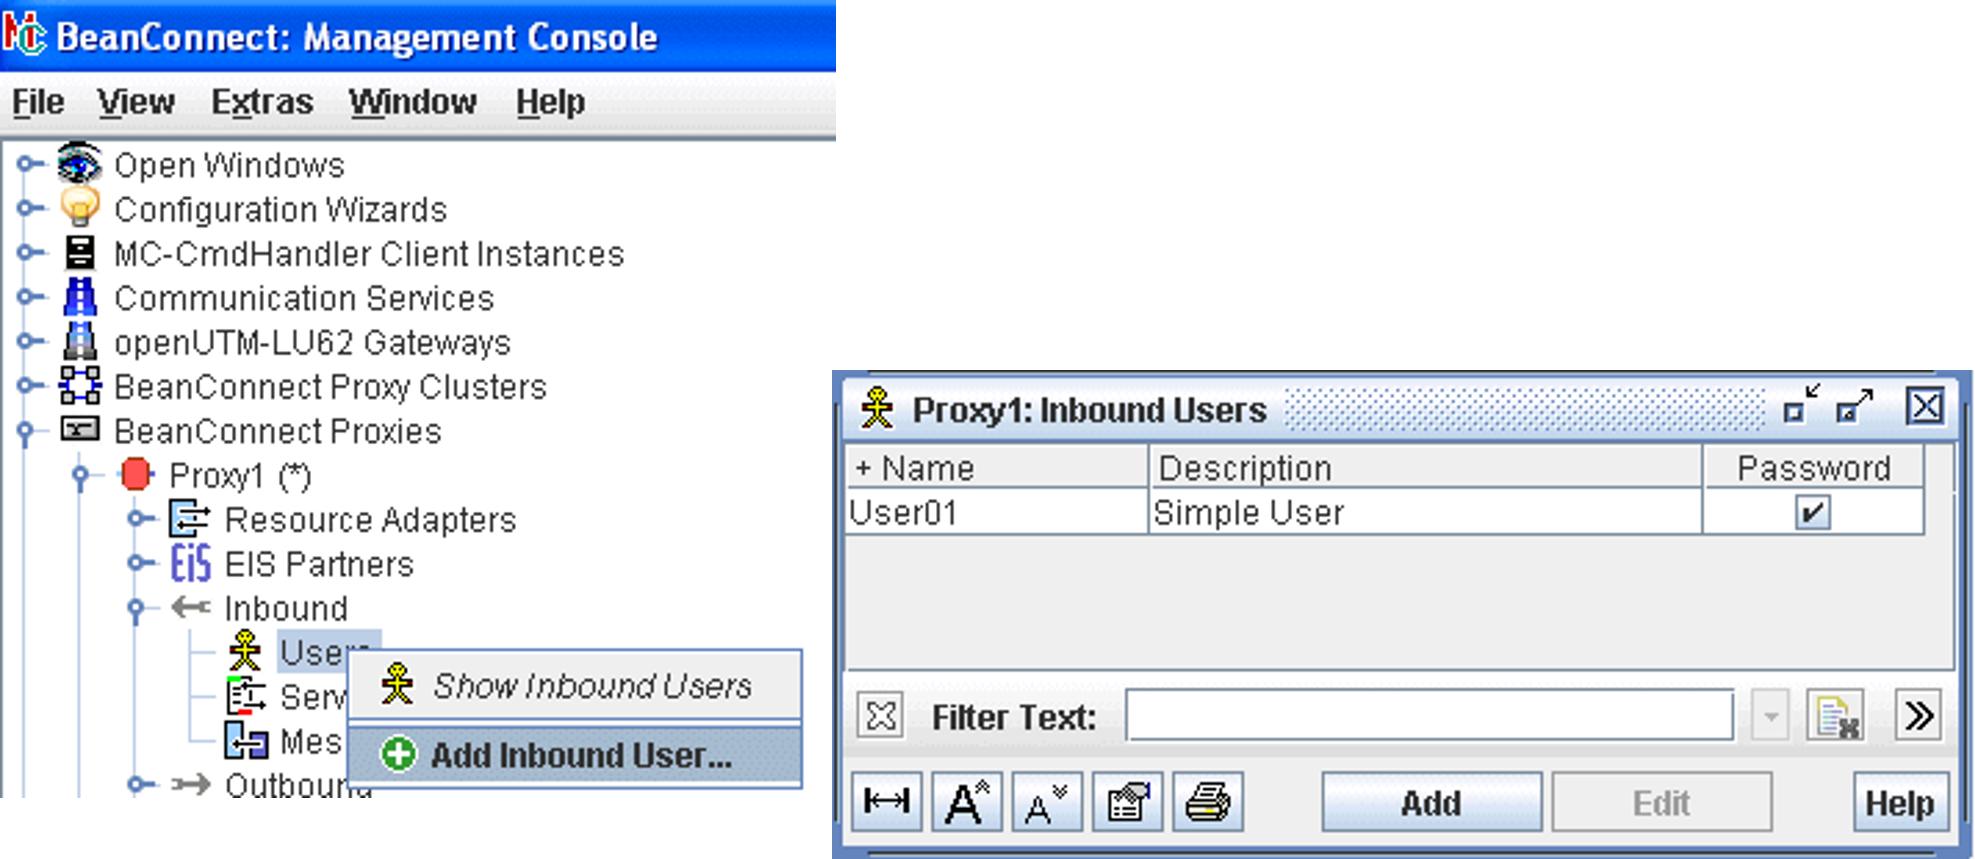

Figure 42: Configuring users for inbound communication
To add a new user, click the Add button below the list or choose Add Inbound User from the context menu of an existing user or the Users node.
Enter the Name. Additionally, you optionally can enter a Description and a Password for the inbound user.
To remove a user from the Management Console, choose Remove Inbound User from the context menu of the user. Alternatively you can select one or more users in the list and click the Remove button beneath the list.