Before you can start developing UTM applications, you must add the directories with the openUTM header files (utmpath \include), the openUTM library files (utmpath \sys) and, if necessary the database libraries, to the development environment.
You set these via certain options of the Developer Studio. These settings are independent of the project and can therefore be used to create various UTM applications.
Proceed as follows:
Call the Microsoft Visual Studio, select Tools - Options and click Projects and Solutions.
Select VC++ Directories and set the option for the include files as follows:
In the General for box, select the value Include Directories and double-click on the empty data entry line.
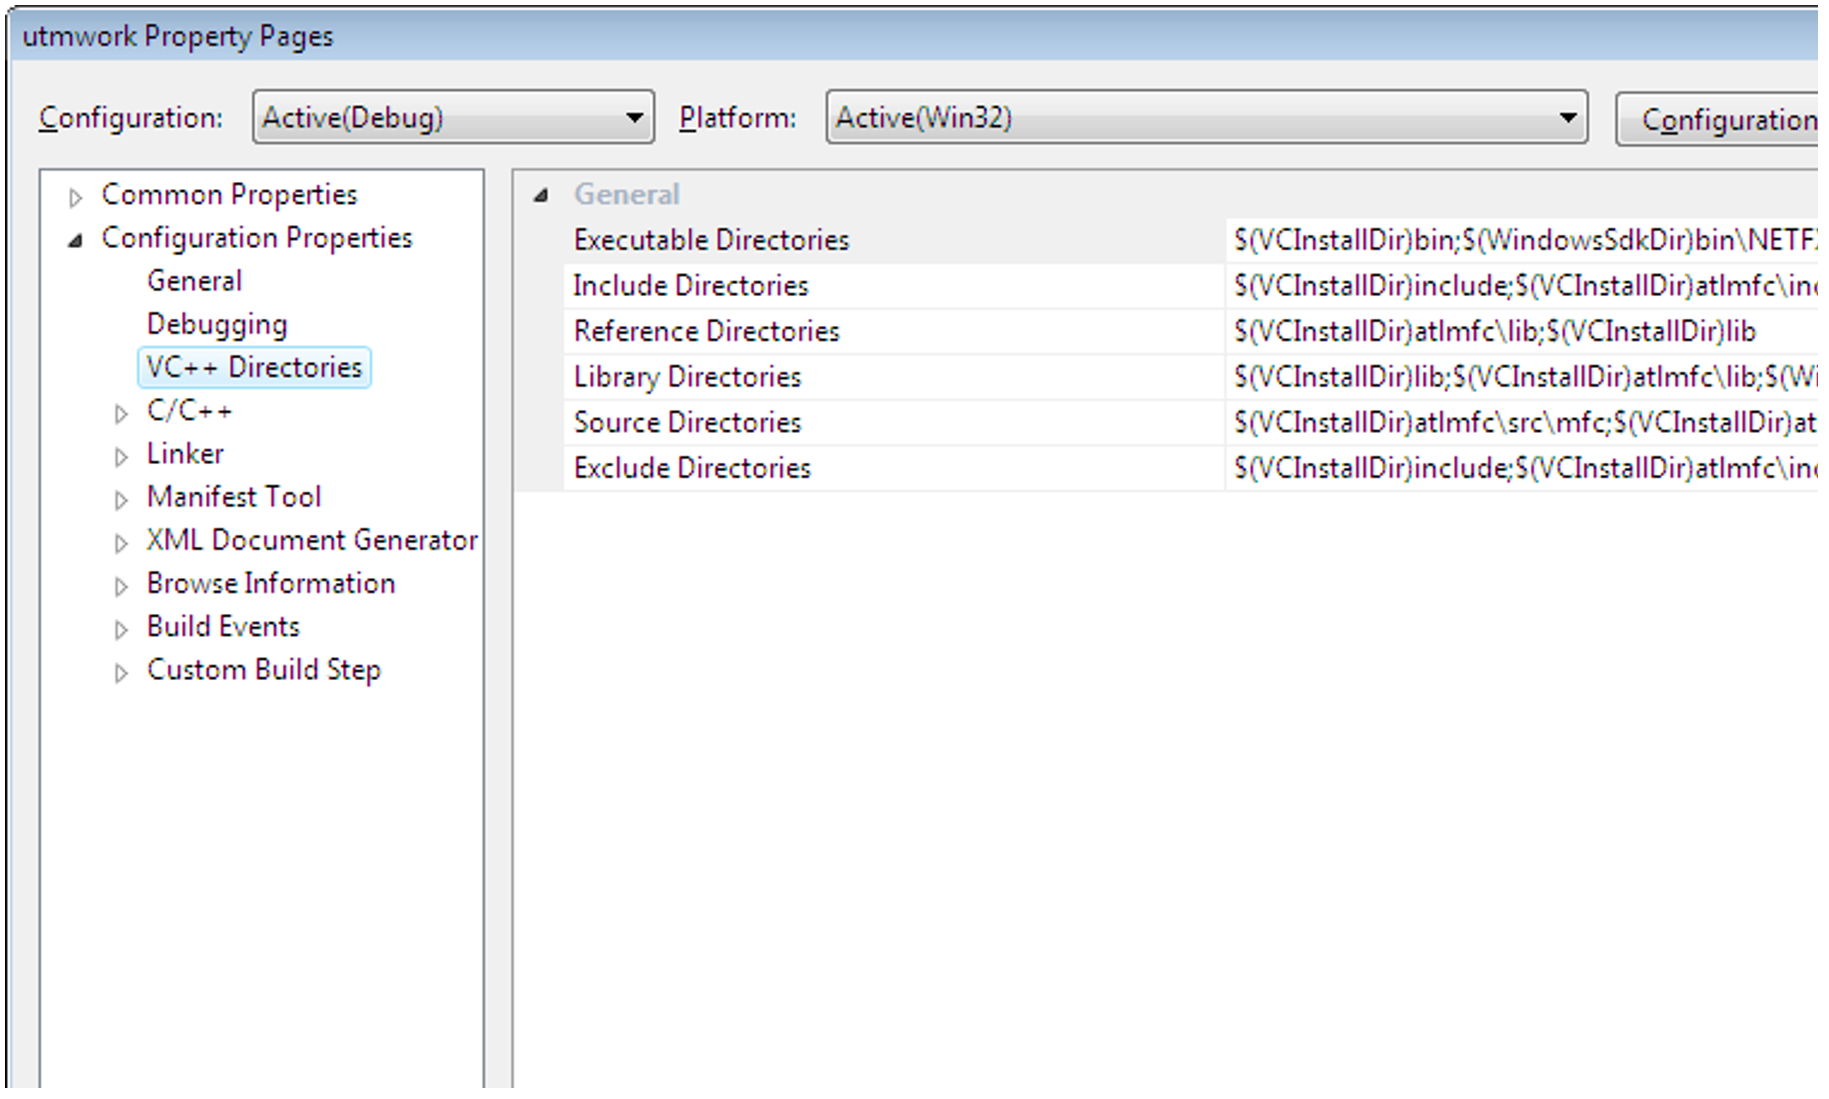
Click the
New Line button and enter the directory containing the include files: utmpath
\includeThe default is
C:\openUTM-Server\64\includeAlternatively, click the " ... " button and choose the directory from the intermediate dialog box that follows.
Move the directory to the top location using the arrow button.
Set the options for the UTM libraries and the database libraries.
To do this, select the value Library Files in the Show Directories for box and proceed in the same manner as for the header files:Specify the directory with the UTM library files. You must always set these options:
double-click on the empty input line
Enter the directory containing the UTM libraries (utmpath
\sys).
The default isC:\openUTM-Server\64\sys.
Alternatively, click the " ... " button and choose the directory from the intermediate dialog box that follows.Use the arrow buttons to move the directory to the top,
Specify the directory with the database library files. This is only necessary when you want to connect a database (for example ORACLE):
double-click on the empty input line
Enter the directory containing the database library files directly or select it using the intermediate dialog box (by double-clicking " ... "
- Now press OK in the Options window.
This stores the options for the header files and library files.