Disk pools with free storage space are required to create or expand the capacity of virtual disks. For details, see section "Managing virtual disks".
The Disk pools tab provides the following functions:
> | Select Devices
|
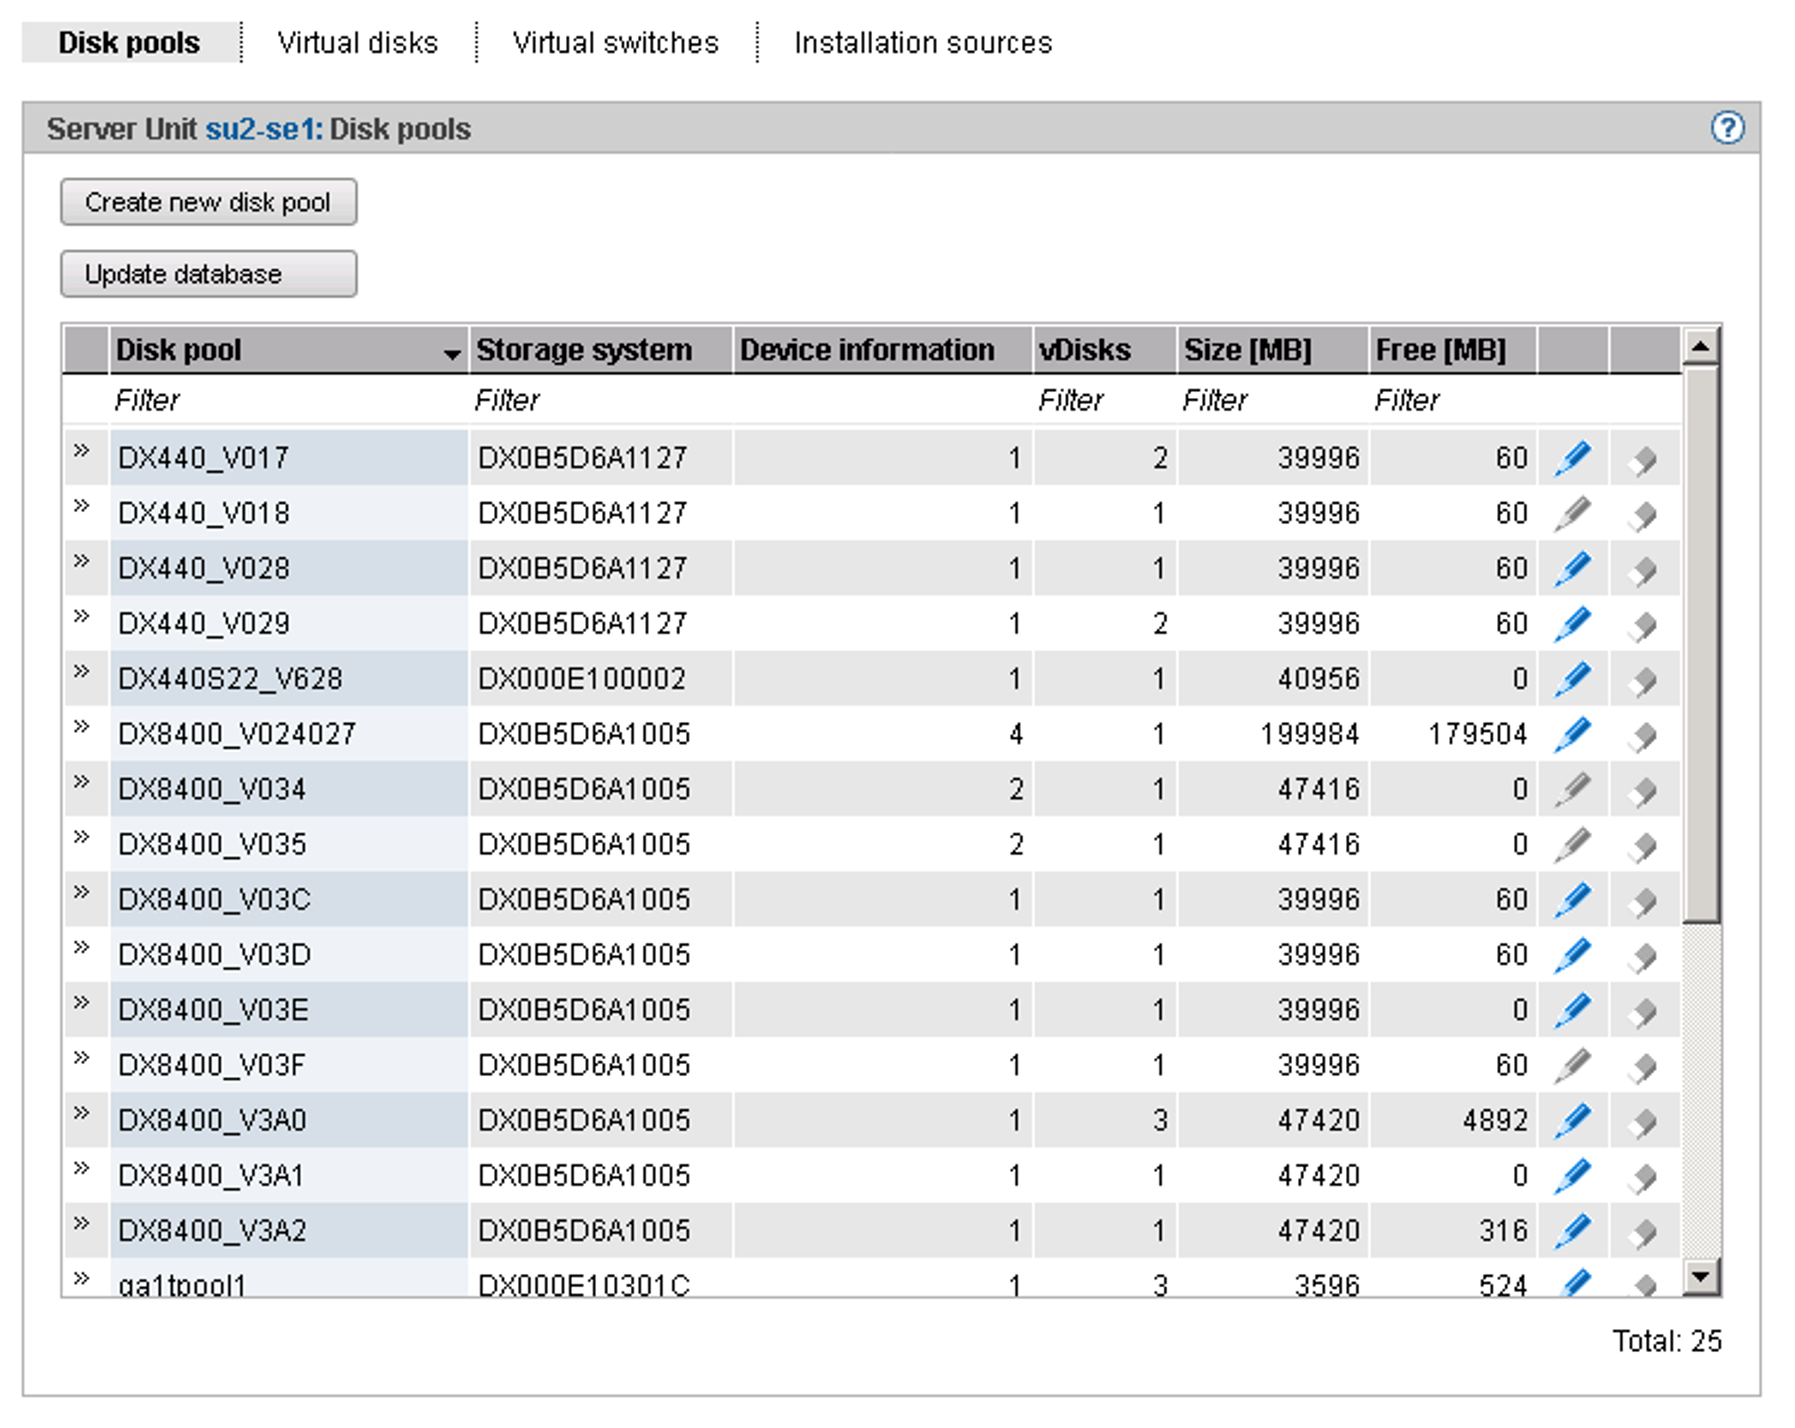
The Disk pools tab offers the following functionality for managing disk pools:
Creating a disk pool
XenVMs use disk pools to create virtual disks.
If a free physical disk (a free node) is selected when a disk pool is created or extended, despite the database having been updated it can occur that the disk is not yet free and the action will fail with a reference to a remote application. This can happen, for example, when the storage system is also used by another Linux system and the disks there are managed using means of the basic software Logical Volume Manager.
> | Click Create new disk pool (above the table of disk pools). In the Create disk pool wizard you can specify the required properties of the disk pool step by step. |
Updating the database for virtual disks
When various servers access a disk storage system, it can make sense to update the administrative copy of the database for the virtual disks on the Server Unit of the SE server.
> | Click Update database (above the table of disk pools) and confirm the action. |
The database for the virtual disks will be updated and the current inventory of virtual disks displayed.
Extending a disk pool
You can extend a disk pool when it no longer has enough free storage space for further virtual disks. In this case you assign the disk pool another physical disk which provides the storage space required.
> | Click the Change icon by the required disk pool and extend the pool by the physical disk. |
Deleting a disk pool
You can delete a disk pool only if it contains no virtual disk.
> | Click the Delete icon by the required disk pool and confirm the action. |
The disk pool selected is deleted immediately. The physical disks which were assigned to the disk pool are once more freely available.