As administrator, you can use the Alarm management tab to configure rules for the automatic messaging in case of events on the units of the SE server configuration. There are two possible types of messages:
A management station can be informed via SNMP trap. Traps are unsolicited messages of the SNMP agent.
A user can be informed via e-mail.
You decide which servers are informed via SNMP trap and which users are informed via e-mail. You decide for each receiver, which weight an event must have to trigger a message.
> | Select Logging |
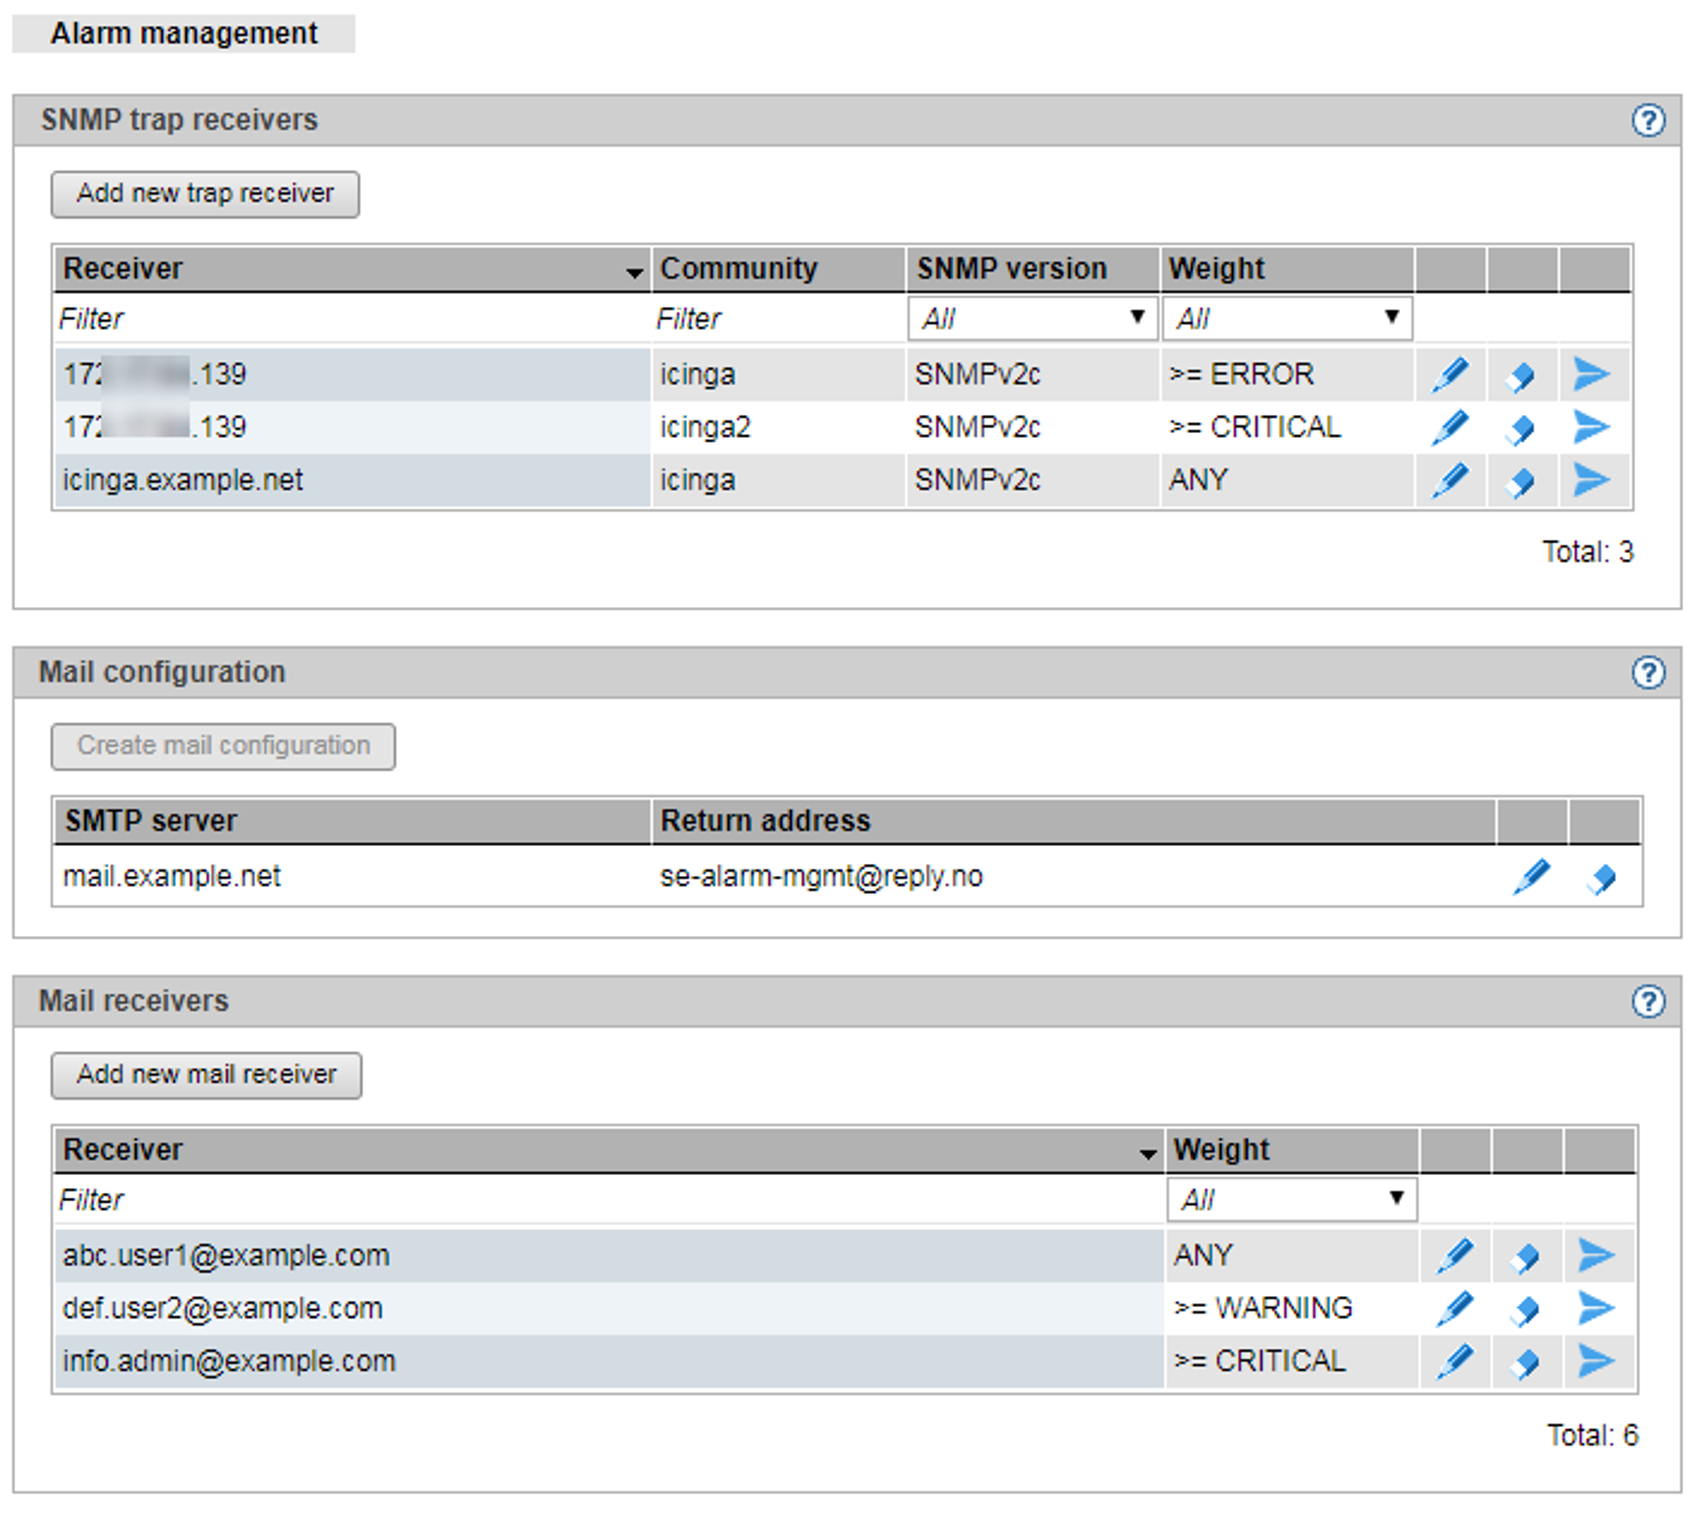
The Alarm management tab contains information on the receivers of messages via SNMP trap, the e-mail configuration and the receivers of messages via e-mail.
A message via e-mail has the following properties:
Subject: SE server alarm management notification (<weight>)
The content of the mail shows the event or a list of the events of the last minute in the following format:
<timestamp>;<weight>;<management-unit>;<component>;<message>For a list of possible events, see Further information
->Events in the online help.
The following functions are available in the Alarm management tab:
Add a new SNMP trap receiver:
> | In the SNMP trap receiver group, click the Add new trap receiver button and in the subsequent dialog, enter the required information for the trap receiver. |
Change the properties of an SNMP trap receiver
> | In the SNMP trap receiver group click the Change icon by the required receiver. Modify the weight and confirm the action. |
Remove an SNMP trap receiver from the list
> | In the SNMP trap receiver group click the Delete icon by the required receiver and confirm the action. |
Test the messages for an SNMP trap receiver
You can send a test trap to a receiver. If the test trap is successfully received, the properties of the receiver are ok.
> | In the SNMP trap receiver group click the Test icon by the required receiver and confirm the action. |
Create mail configuration
For messaging via e-mail, you need an SMTP server that sends the e-mails. There should also be a return address entered in the sent e-mails. If there is no e-mail configuration configured yet, proceed as follows:
> | In the Mail configuration group, click the Create mail configuration button and in the subsequent dialog, enter the required information. Then confirm the action. |
Change mail configuration
If you want to change the data of an existing e-mail configuration, proceed as follows:
> | In the Mail configuration group, click the Change icon. Modify the required properties and confirm the action. |
Delete mail configuration
> | In the Mail configuration group click the Remove icon by the entered SMTP server and confirm the action. |
Add a new e-mail receiver
> | In the Mail receiver group, click the Add new mail receiver button and in the subsequent dialog enter the e-mail address of the receiver. |
Change the properties of an e-mail receiver
> | In the Mail receiver group click the Change icon by the required receiver. Modify the weight and confirm the action. |
Remove an e-mail receiver from the list
> | In the Mail receiver group click the Delete icon by the required receiver and confirm the action. |
Test the messages for an e-mail receiver
You can send a test mail to a receiver. If the e-mail is successfully received, the mail configuration and the e-mail address of the receiver are in order.
> | In the Mail receiver group click the Test icon by the required receiver and confirm the action. |