This section describes how an action is typically executed.
You start an action in the SE Manager‘s working area. Two options are available after you have selected a tab:
> | Click a button. |
> | Click an icon in a table (e.g. Change, Delete). |
After you have started the action, a dialog opens. See the section "The dialog" for the layout.
Within the dialog proceed as follows:
> | If required, control the action with options. |
> | Confirm the action. |
Following confirmation the action is executed and the dialog box remains open. Each action displays feedback in the associated dialog box. You can then terminate the dialog box with Close and thus refresh the working area of the main window. If you close the dialog box in another way, the working area is not refreshed.
Example of how an action is executed
> | Log in to the SE Manager. |
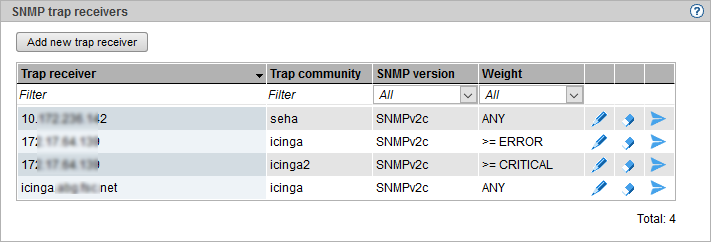
> | Select Hardware |
> | In the Trap receiver group click Add new trap receiver. |
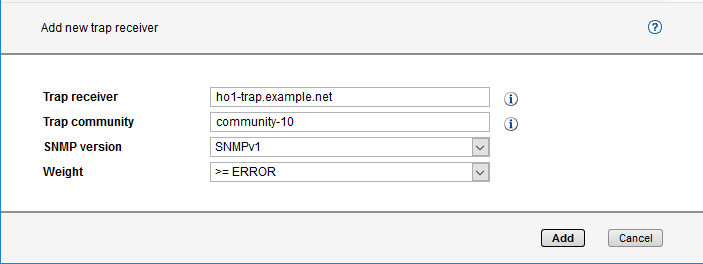
> | Enter an IP address or an FQDN as trap receiver. |
> | Enter a trap community. |
> | Select component, SNMP version, and weight. |
> | Click Add. |
After execution of the action, the message that the trap receiver has been successfully added appears.
> | Click Close. |
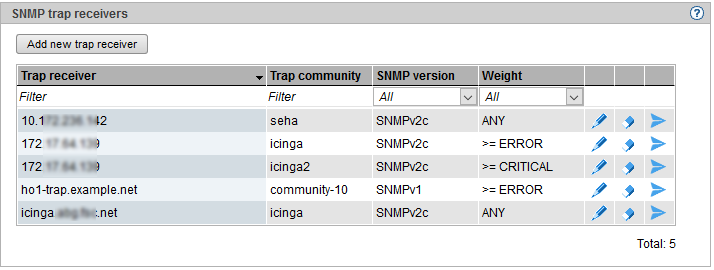
The table displays the added trap receiver.
TEST