Instead of a self-signed certificate generated in the system (standard certificate or userdefined certificate), you can use a certificate of your own to access the system’s SE Manager.
A certificate signing request was generated in the system for the certificate (see the section "Requesting an SSL certificate") and sent to a certification authority. As soon as the certificate signed by the CA (certification authority) is available to you, you can upload and activate it:
> | Select Authorizations | ||||
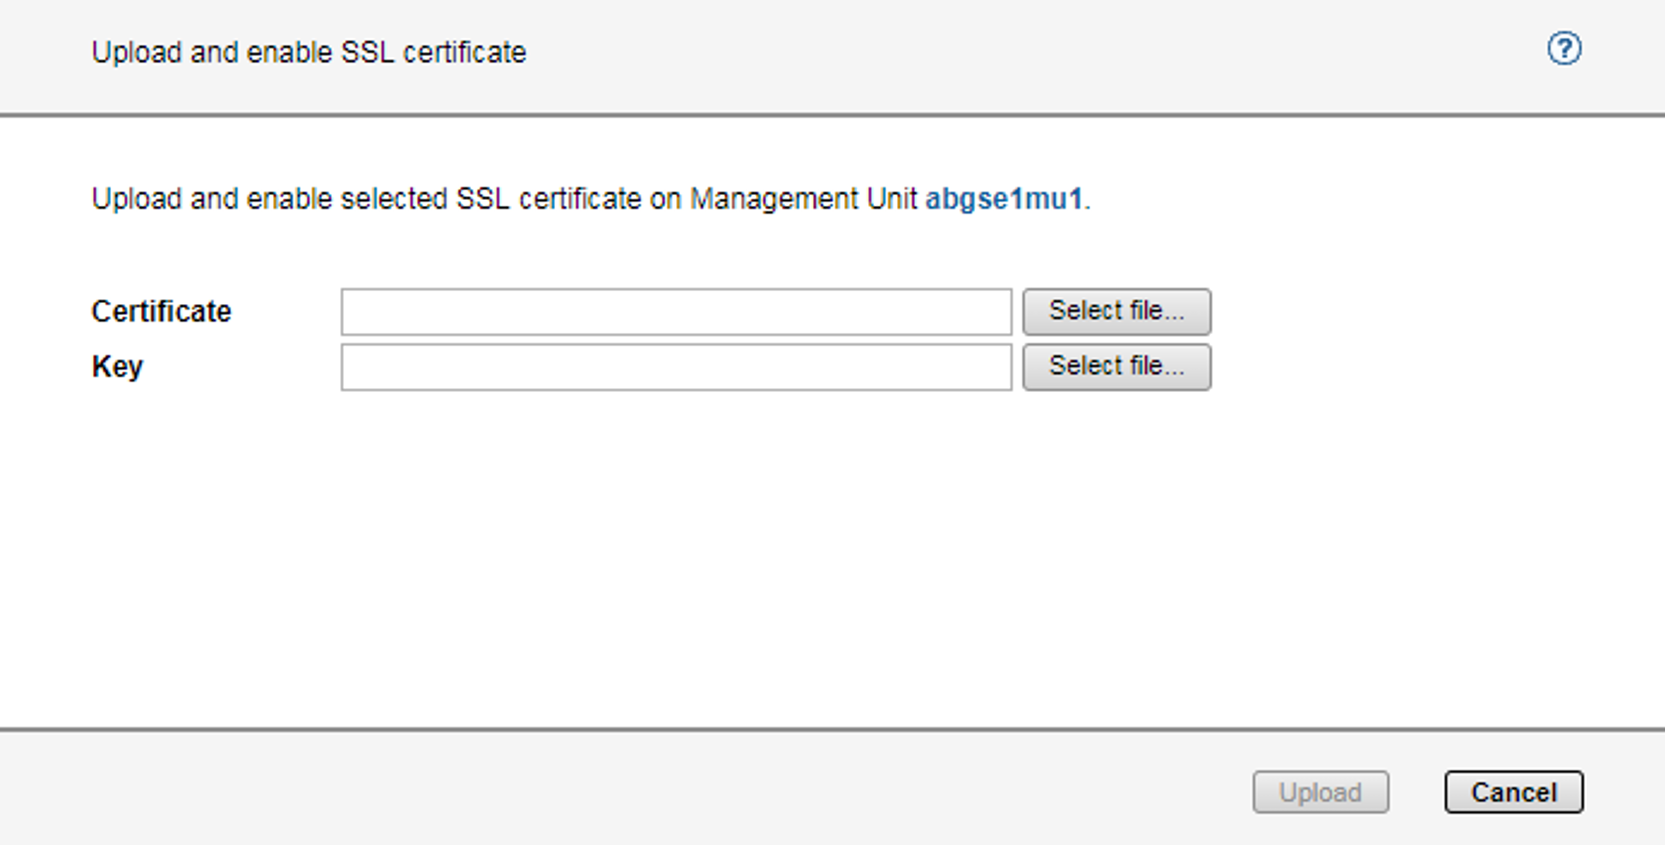
> | Click Create and enable SSL certificate. A dialog opens.
Certificate
Key If necessary, select a suitable key file. A key file is required only if the certificate was created on another system. If nothing is specified, the default key is used.
| ||||
> | Click Upload to start the file upload. |
The files specified are uploaded into the target system, activated immediately and displayed as the current SSL certificate.
Notes:
When a certificate is activated on the target system, the web server is also automatically rebooted with the new certificate. A brief interruption of the SE Manager’s connection to the system can occur.
If the web browser used (on the administration PC or local console) knows that the new certificate is trusted or knows its root certificate, no further action is required.
If the web browser does not know that a certificate is trusted, the certificate must be explicitly confirmed or imported (see the section "Confirming/importing a certificate in the web browser").