SENET contains the internal DNS configuration of the SE server or the SE servers of a Management Cluster. The IP network SENET is displayed on the SENET tab.
> | Select Hardware
|
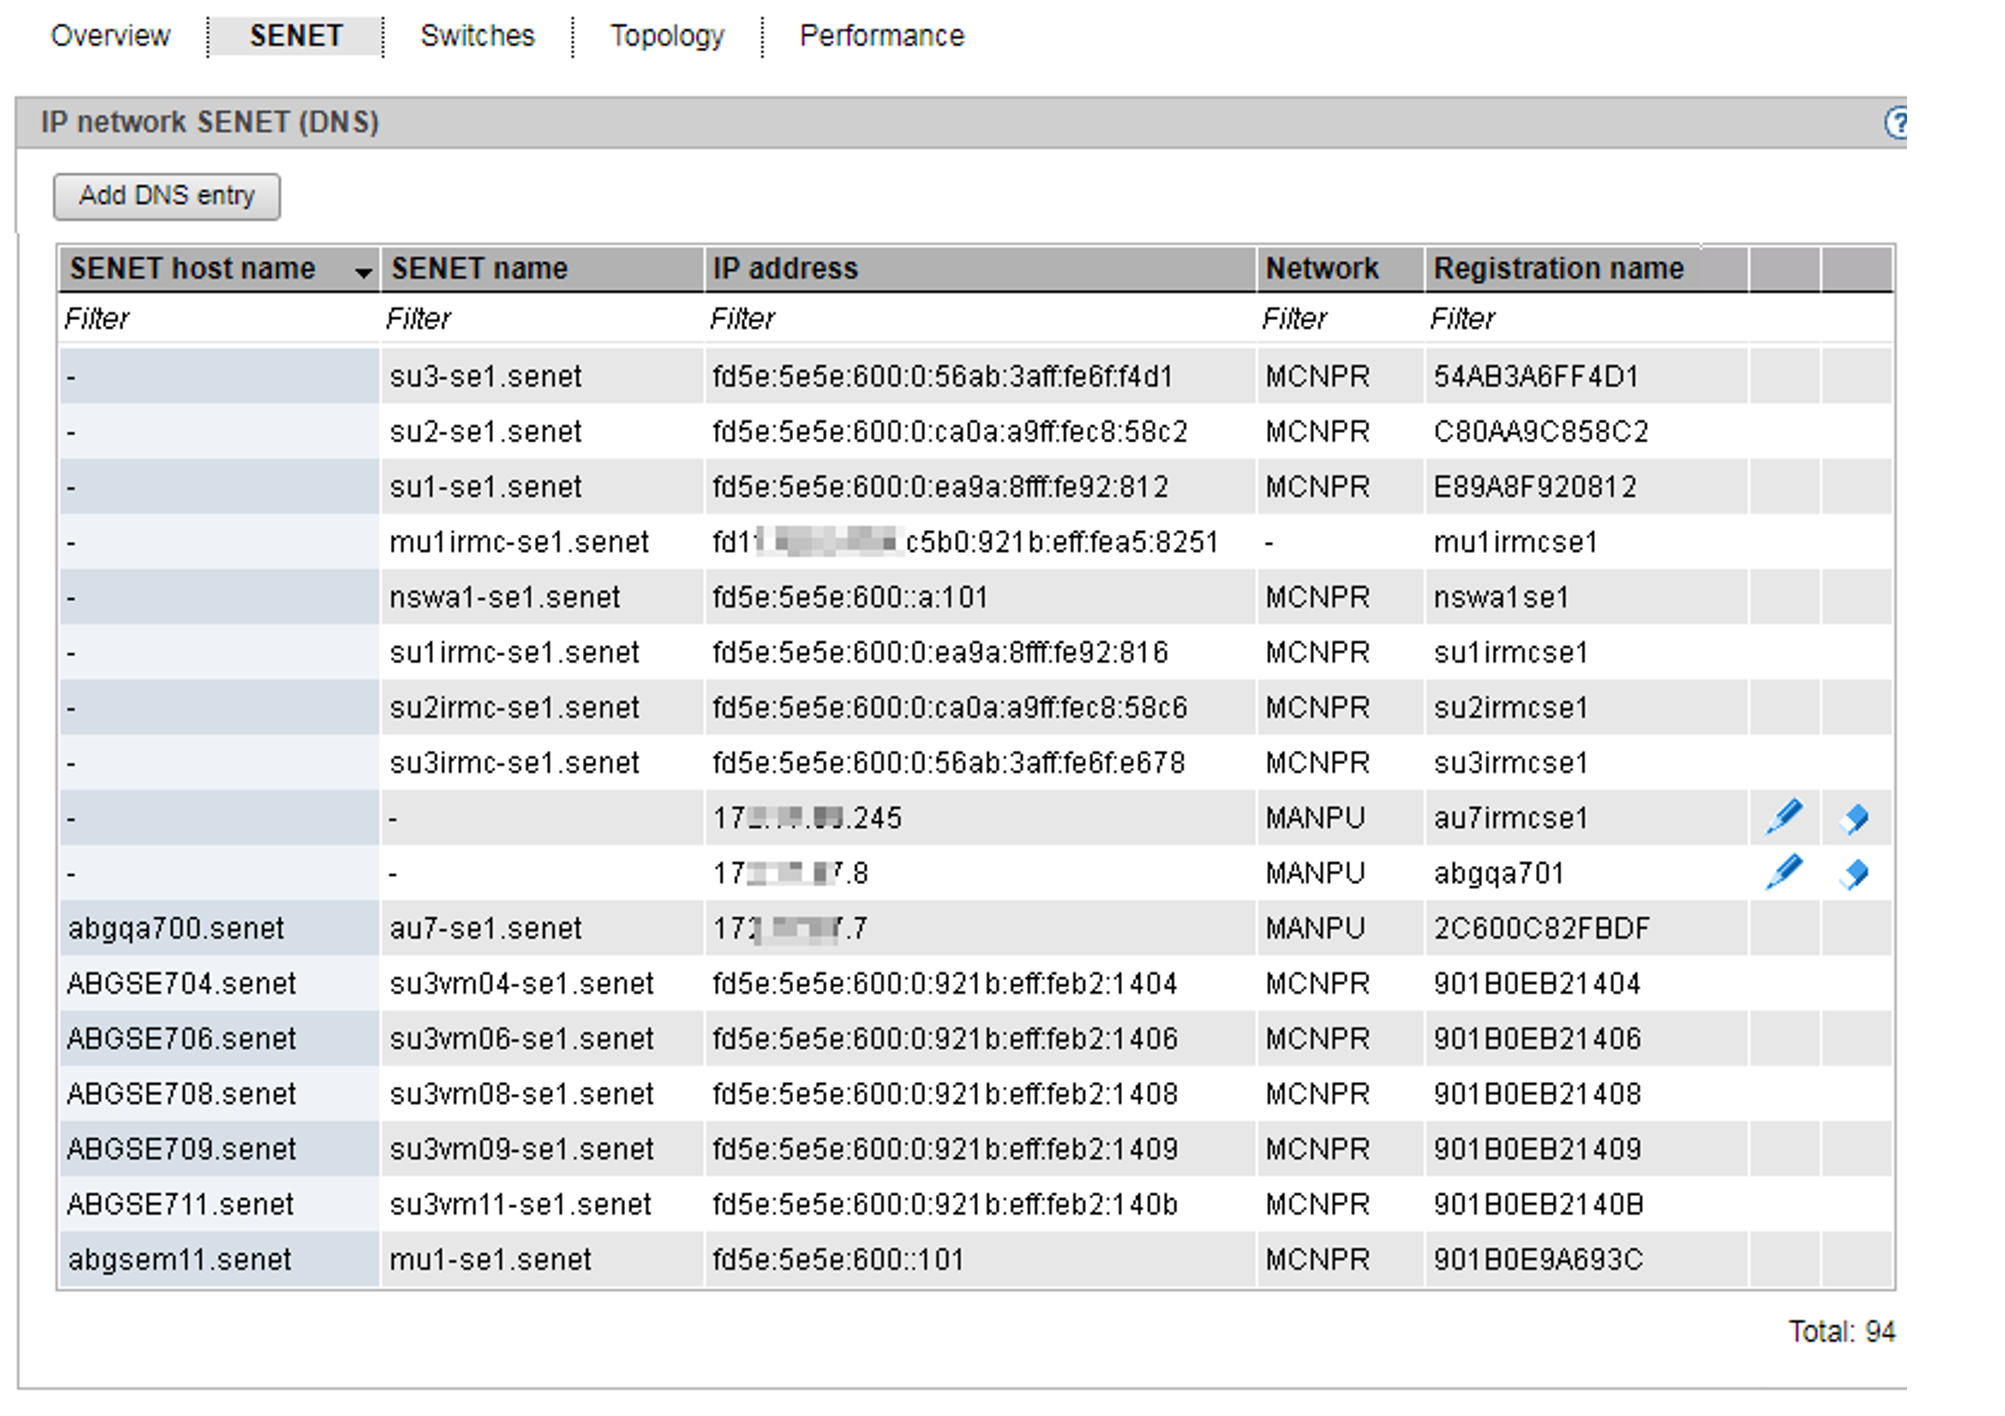
The SENET tab displays all DNS entries of the SENET. In addition to the fixed internal entries, you can add or remove additional DNS entries and change the host name:
Adding a new DNS entry to the SENET
> | In the SENET tab, click the Add DNS entry button and follow the instructions of the wizard. |
In the first step of the dialog, you choose between the IPv6 Discovery mode or Manual input of the IP address.
In case of IPv6 Discovery, select a private management or data network. After that, all IPv6 addresses of this network that are not yet registered in the DNS are displayed. In the Ports selection list, select the required address. The registration name is assigned automatically. You can assign the host name.
Manually entering the IP address:
In the following steps of the dialog, you can assign the IP address, the registration name and the host name.
Changing the host name of a DNS entry
> | Click on the Change icon next to the DNS entry and change the host name in the subsequent dialog. |
Deleting a DNS entry
> | Click the Remove icon by the DNS entry you wish to remove. |